Friday, April 12, 2013


 ~ How To ~


Paint Zebra Strips  
A few small steps 
 to make a huge expression
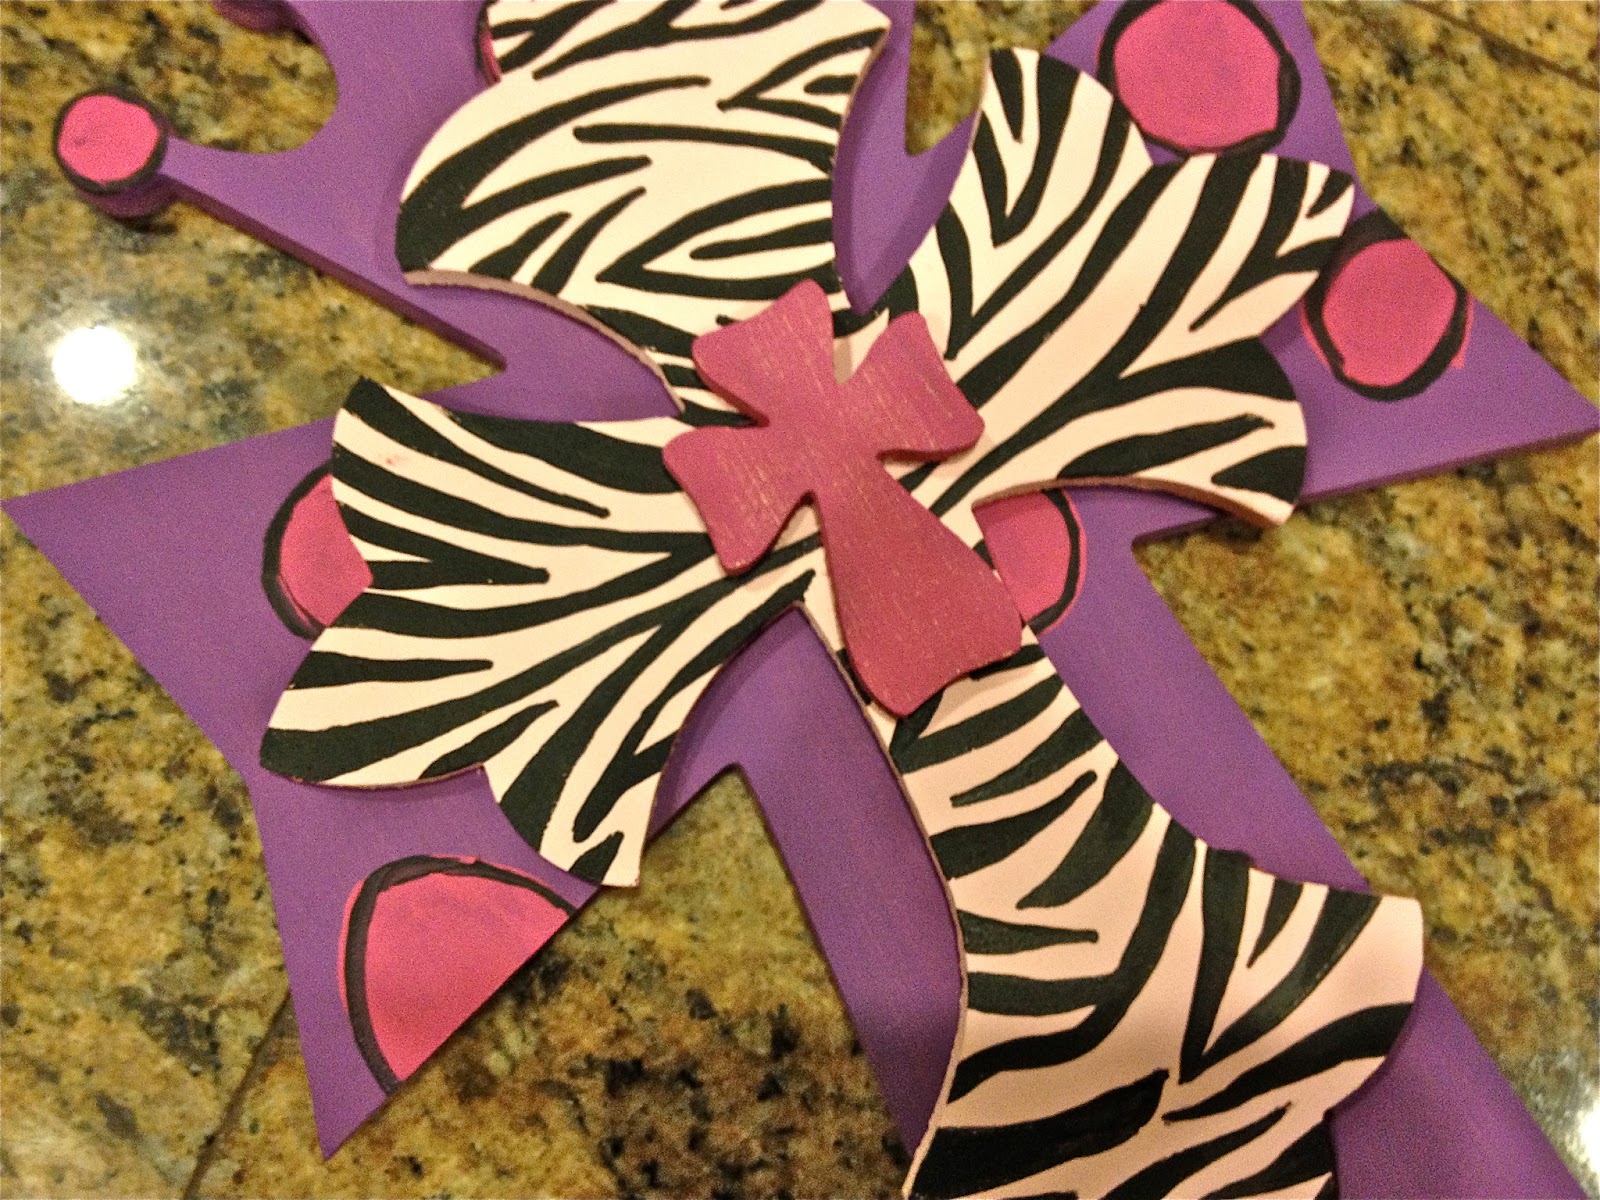

Two tips to Remember: Use the right paint brush and keep paint constancy 
from becoming too thick while painting by adding a very small amount of water! 

First Mix a small drop of water and a portion of  black paint together. You want the paint to move smoothly over the surface., adding water helps. Next, using an angled paint brush, dip heavily into paint/water mixture.
Start painting at a tip.
~
Make your first strip by painting an irregular triangle. Thinnest point always being on the inside. Then add another irregular triangle on the opposite side. Repeat. The triangles with become more irregular and longer as you work your way up the cross.

As you work your way up,
 add larger outlining triangle, to your smaller ones. 

Keep working your way up the cross, by using steps one and two. 
Where space allows add triple triangles! 


Once you have completed one side of the cross, 
duplicate it on the opposite side, as pictured above! 


Turn cross around, so unpainted portion is closest to you. 
Start at tip and repeat the design used on the opposite end 
of the cross by making more irregular triangles. 
Work your way into the rest of the strips to complete design!


The pattern that makes up a zebra’s skin is erratic, 
so get erratic with it and most of all, have fun doing it!


  ~
 
This Project was Brought to you by
Jessica Sawyer


                            Build-A-Cross Crafter


Wednesday, April 10, 2013


Distressed Picture Frame...

http://www.build-a-cross.com/category_s/1867.htm#.UWRTdVfsK6A


Supplies Needed... 
Unfinished Picture Frame
Craft Paint: Light color*
Black Craft Paint
Brown Craft Paint
Sponge Paint Brush
Bristle Paint Brush 


Prepping The Frame...
Remove glass and back from frame by bending back prongs and gently siding out. Set aside for later.


Painting the Frame...
Paint the front and edges of your picture frame using craft paint and sponge brush. This may take more than one coat depending on the paint color and desired coverage.


 Allow frame to dry completely before heading to the next step. Approx 1 hour.


Mixing Paint for Distressing...

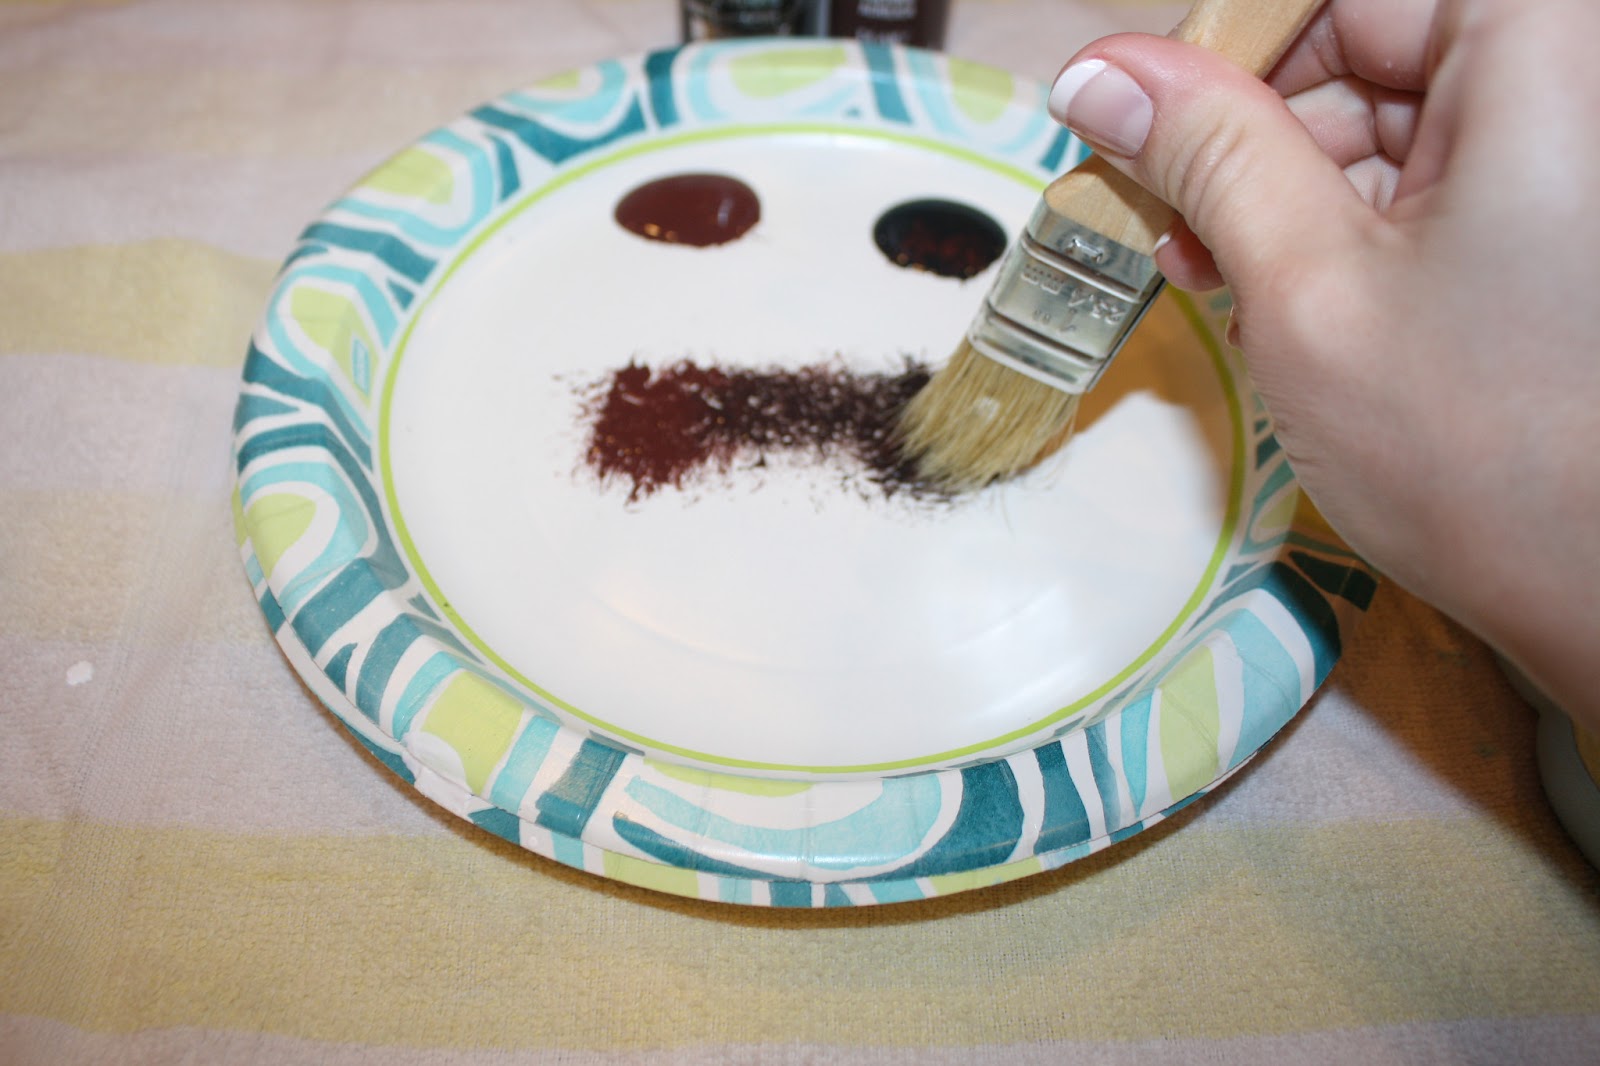
On a paper plate pour a small bead of each, black and brown, craft paint. Lightly dip your bristle paint brush into the brown paint and remove most of the paint on the plate, then do the same with the black paint, mixing both paint to create a deep brown.


 Distressing The Frame...
Starting at the top edge of the frame gently brush down the frame. Repeat this step all the way across the frame. Always start at an edge, never in the middle of the frame. Next, start at the bottom edge and brush upward all the way across the frame. Add more paint to your brush as needed, just remember it does not take much!


Return Frame Backing...
Return the glass and back to your frame, along with your photo. Bend prongs down to secure backing.


Hang & Enjoy


~This Project was Brought to you by
Jessica Sawyer
Build-A-Cross Crafter
 

Tuesday, April 9, 2013


Button Letter

Unfinished Wooden Letter in this project can be found at:
 http://www.build-a-cross.com/category_s/1929.htm#.UWQpO1fsK6B


 Supplies You Will Need:
~12" Unfinished Wooden Letter
~Spray Paint
~Assortment of Buttons
~E-6000 Glue


 Paint You Letter...
Paint your letter by simply using a spray paint of your choice. I find that a vibrant color looks better than a black or white, but this is your project! Make it your own! *You can also use a craft paint and paint brush to paint your letter, this is totally up to you! After you have completed painting your unfinished wooden letter, allow it to dry for approx. 30 minutes before going to the next step.


 Add First Layer of Buttons...
Begin adding a single layer of button to your letter. Use a small bead of E-6000 glue on each button and then place it on letter. There will be areas that are left uncovered on this step. That is why a vibrant color choice is key!


Building Height and Dimension...
Now that you have covered your letter with the first layer of buttons. Go back and add Smaller buttons on top of larger ones to build height and dimension. Saved your special buttons for this step! That way they are displayed front and center!


 Adjusting and Curing...
E-6000 cures slowly which will allow you to more your buttons around to fill in gaps. Allow your letter to fully cure overnight!


And...TaDa!!!!
When you wake up the next morning, your letter is ready to display!
Happy Crafting and God Bless You!


~This Project was Brought to you by
Jessica Sawyer
Build-A-Cross Crafter


The Unfinished Wooden Letter in this project can be found by following this link:
The rest of the supplies I used in this project were purchase at my local Wal-mart.

Monday, April 8, 2013

Images Hosted by Use.com 

Build-A-Cross 

This Step By Step Project was provided by www.Build-A-Cross.com God Bless!