Paper Covered Picture Frame

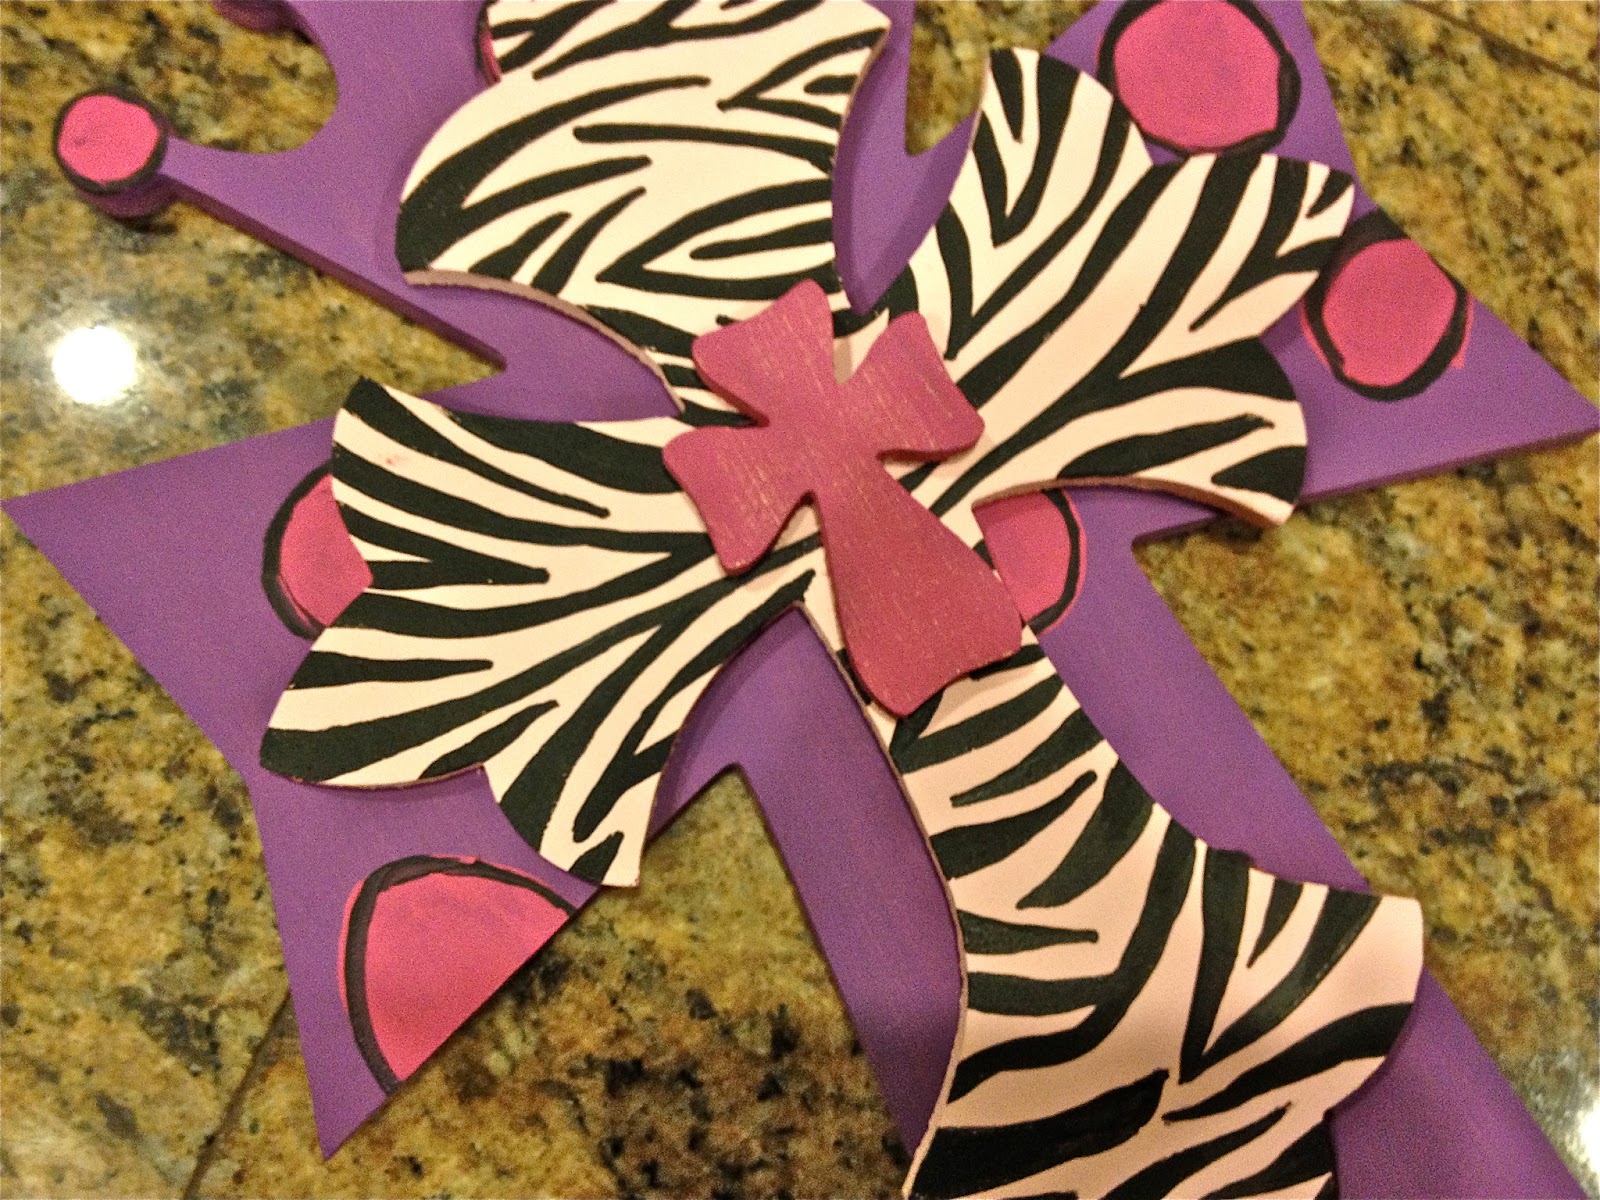
 Meet Katie, She is my 6 year old daughter. This is her project. I did help with the steps using the X-Acto knife and Hanging the frame, the rest she did on her own! This project is fun and easy. A great project for children 5+ or begginers. The Picture frame used in this project was purchased through the following link http://www.build-a-cross.com/product_p/unframe1.htm
Supplies You Will Need:
Unfinished Wooden Picture Frame
Craft Paint
Paint Brush
Craft Paper
Stickers
Spray Adhesive
Accent Crystal
E-600 Glue

Remove Glass and Back...
First, Katie carefully removed the glass and backing for her picture frame. Sit aside until later.
Paint Edges of Your Picture Frame...
Next, Katie painted the edges of the picture frame. There is no need to paint the top of the picture frame because it will be covered with craft paper.
Apply Spray Adhesive...
Next, Katie carefully sprayed a even coat of Spray Adhesive to the back of the craft paper. Place an old towel or sheet down so glue does not get on your furniture *We bought our craft paper at Walmart. They had a large variety to choose for, the book also came with the stickers we will use in a later step.
Press Paper Firmly to Frame...
Next, Katie placed the paper onto the frame and pressed it down firmly using her palms. Allow to sit for about 5 minutes before heading to the next step. This is allow plenty of time to let the Adhesive dry.
Remove excess Paper from Frame...
This step I did, not recommended for children. Turn the frame over and use and X-Acto knife to cut off excess paper. Cut close to the frame for a smooth finish. *If you feel your edges need a little more removed. Take a piece of sand paper and in a downward motion, lightly sand the edges.
Add A Little Bling...
Next, Katie added stickers and small crystals to her frame. This was her favorite step! The crystals we used were peel and stick, however I helped her by adding a small bead of E-600 to the frame then placing the crystals. Allow glue to dry for a few hour before hanging or the crystal will slide.
Return Glass & Back...
Next Katie, found the perfect photo of her and her cousins and place it, along with the glass and back in the frame. Press the prongs back down to secure. 
Hang and Enjoy!
The last step is hanging your picture frame! I did this for Katie. She hung it in her bedroom and she couldn't be more proud of her craftiness, or me! Happy Crafting and God Bless You!~This Project was Brought to you by
Jessica Sawyer
Build-A-Cross Crafter
~along with
Katie Sawyer
Daughter